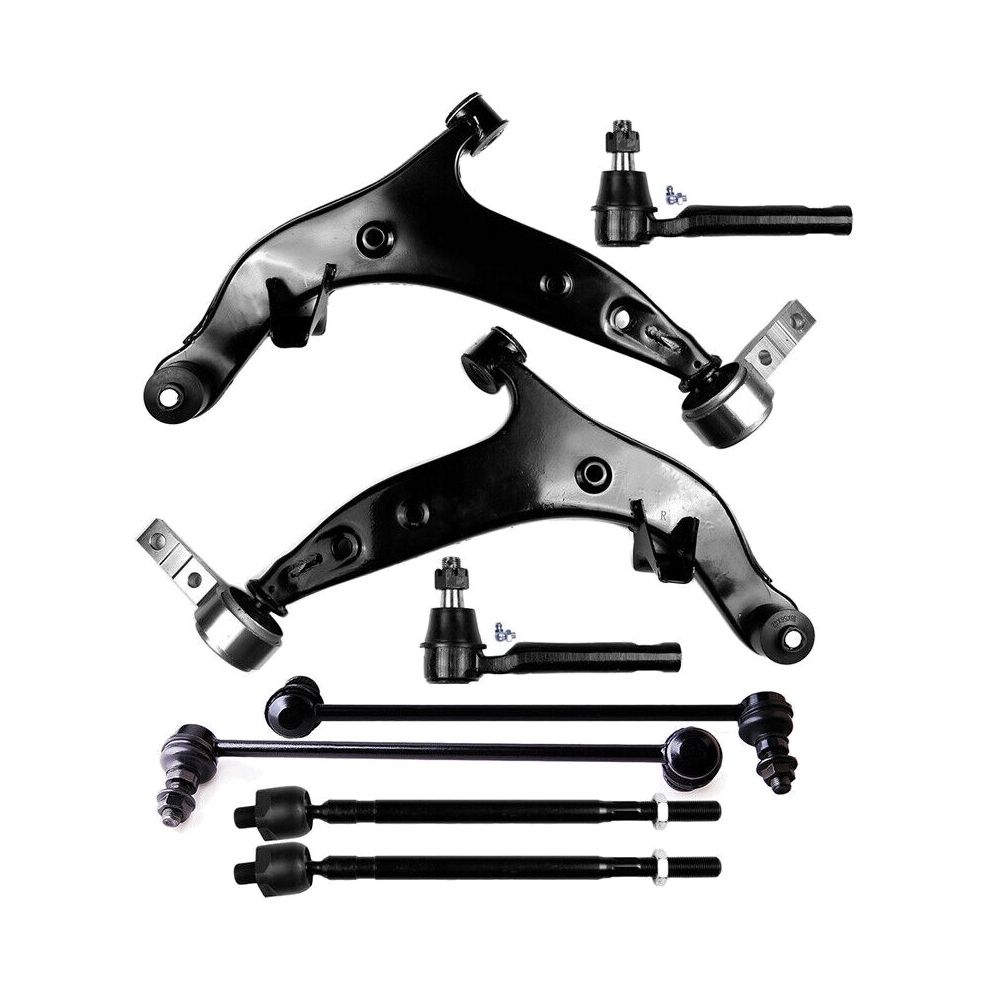
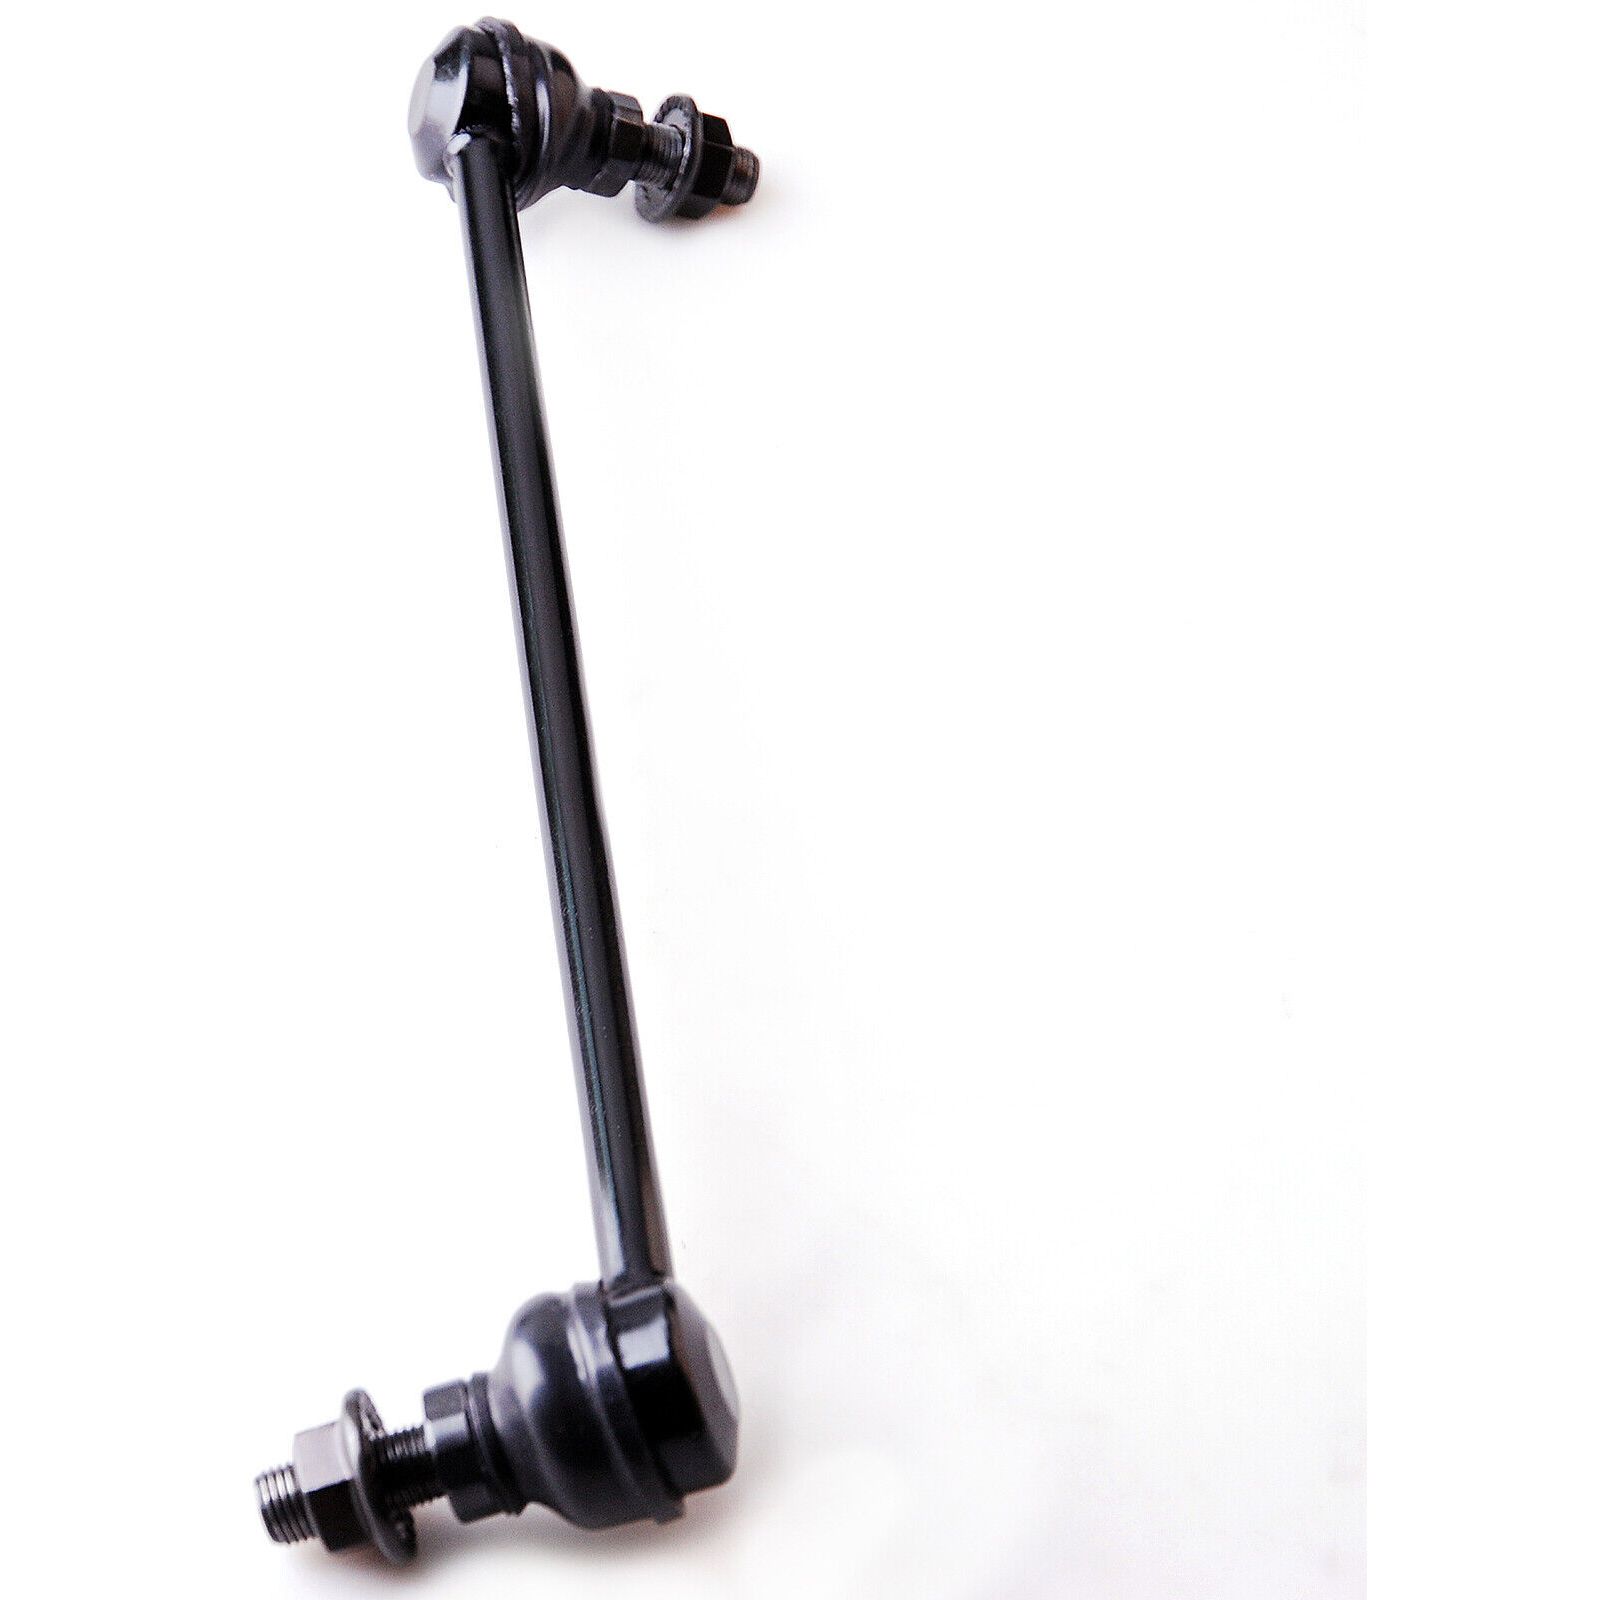
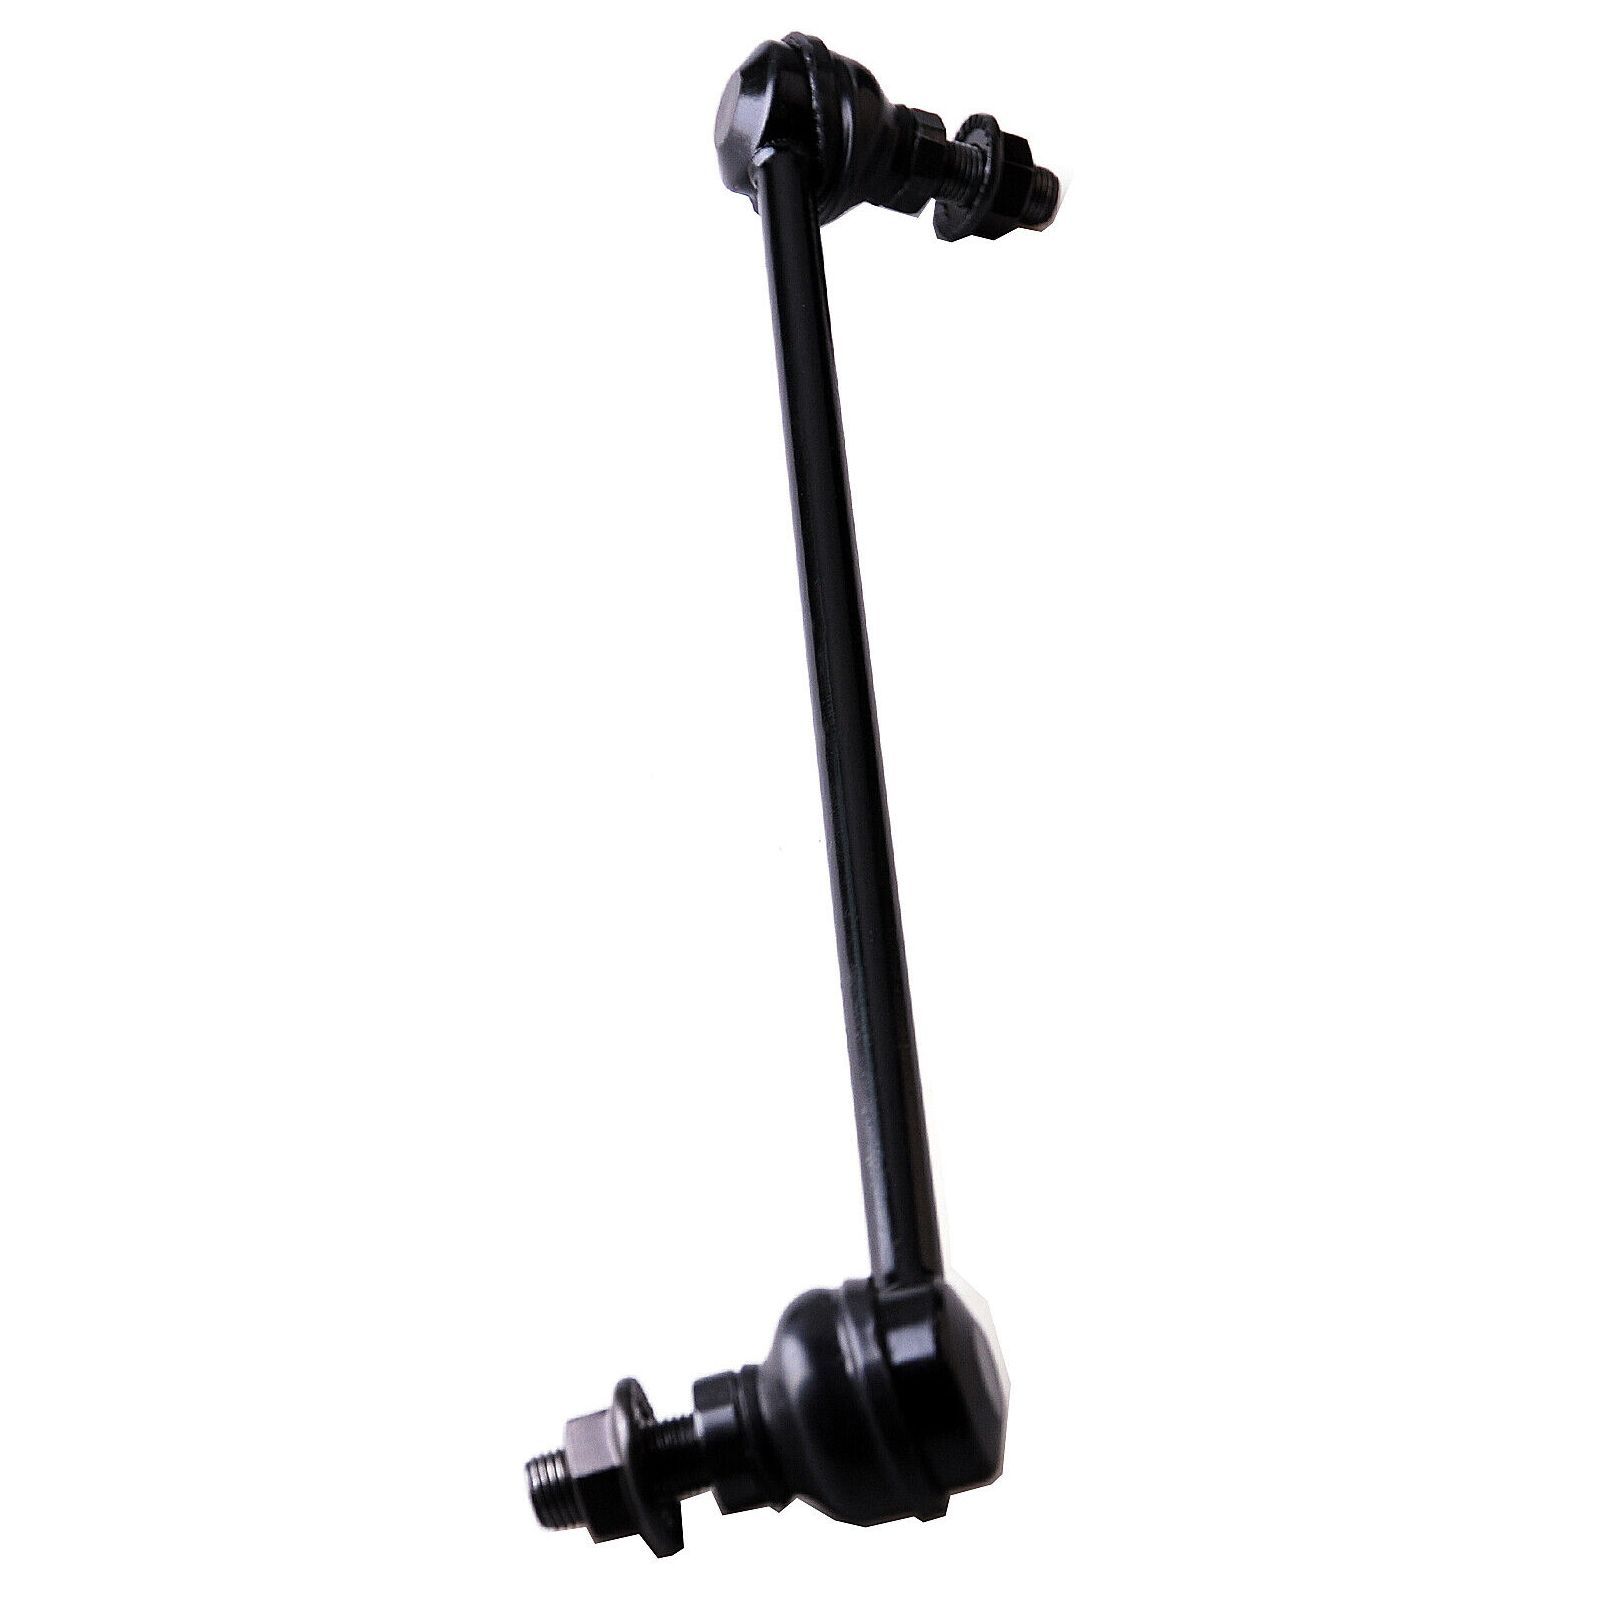
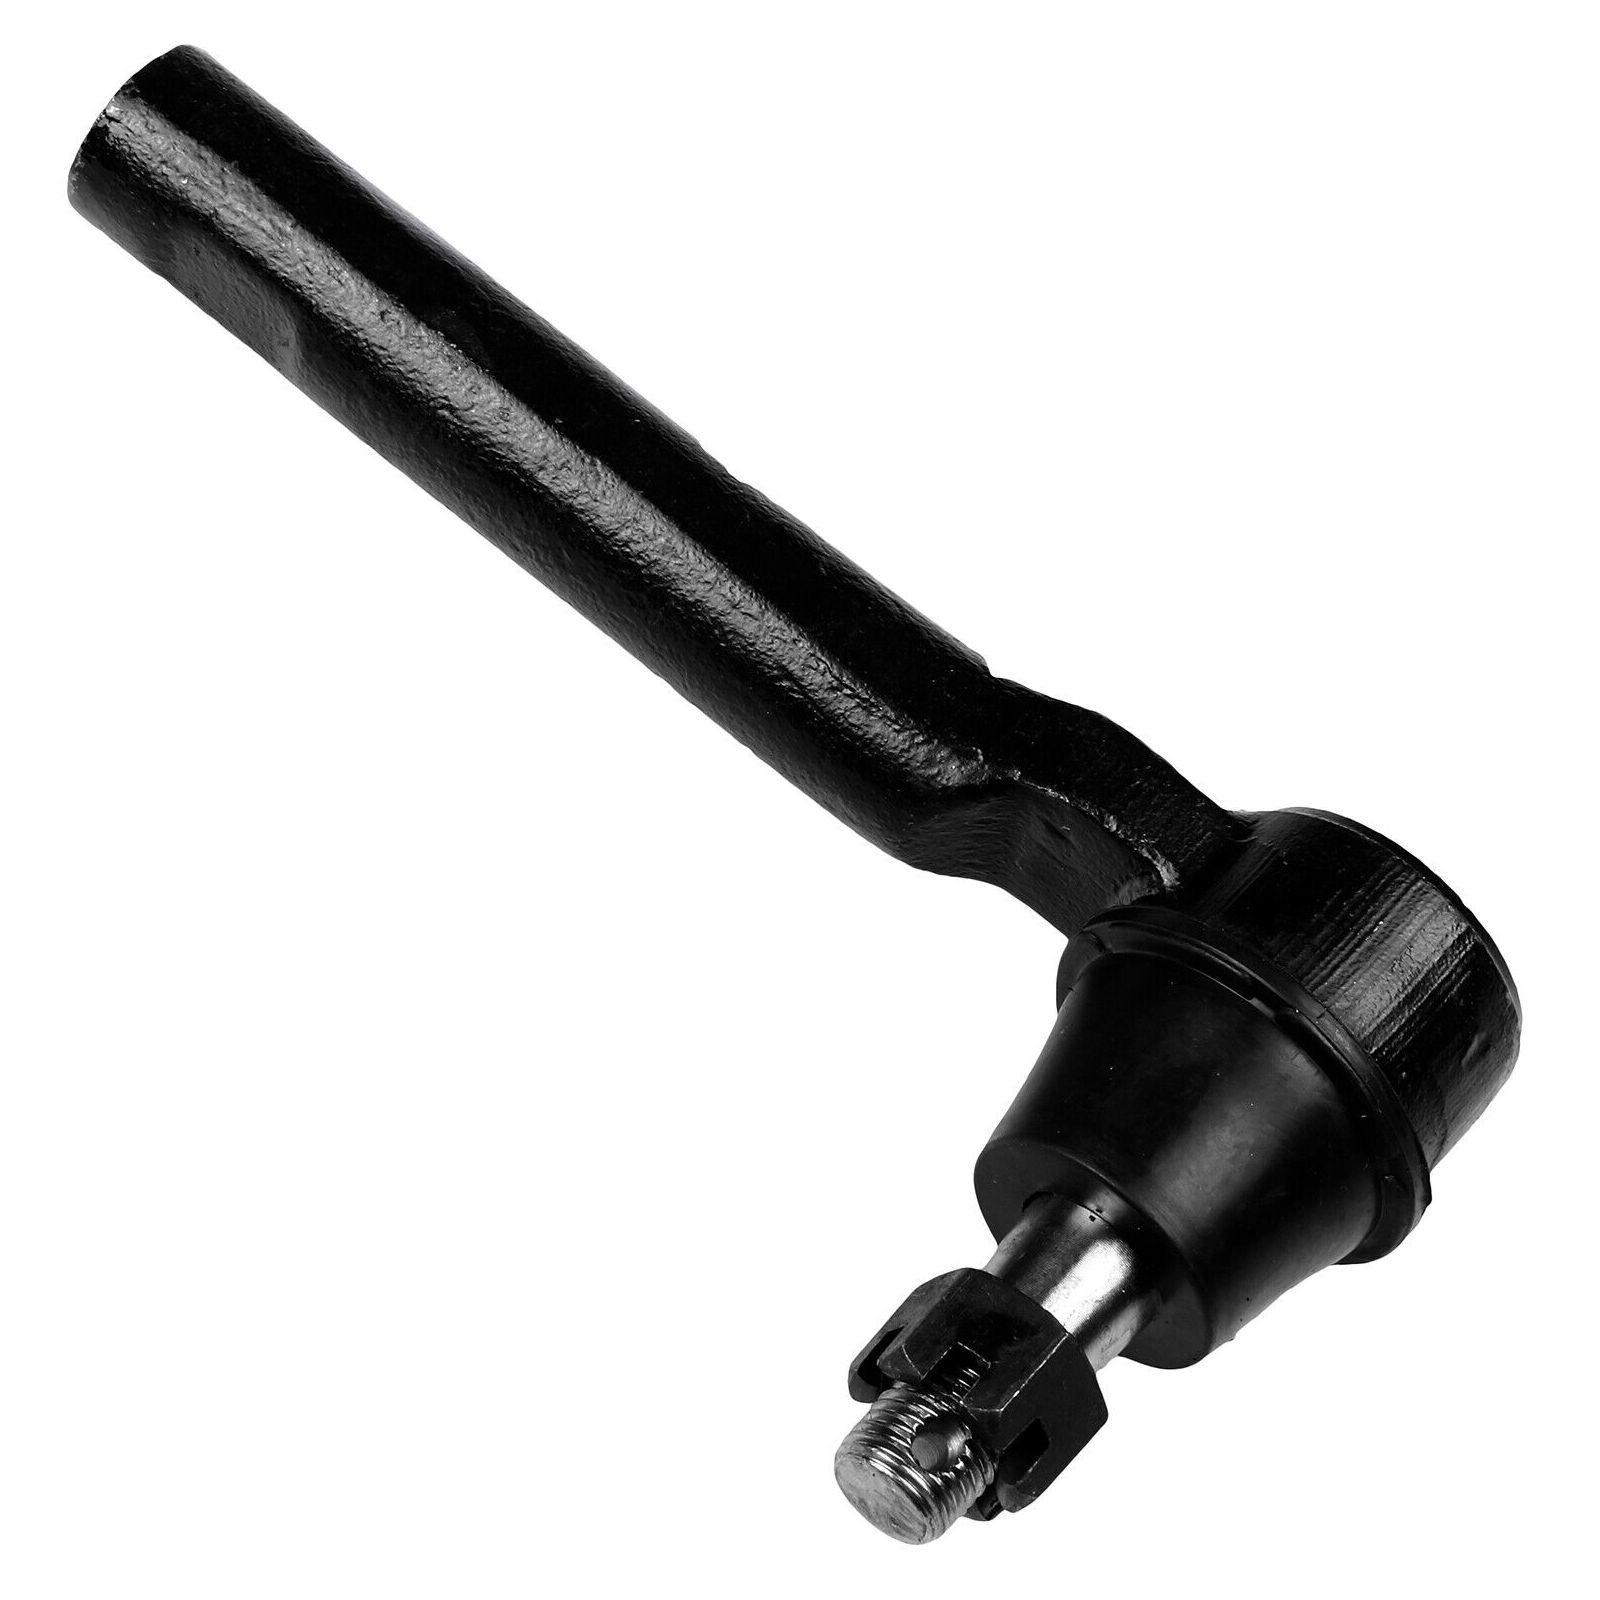
For Nissan Quest Front Lower Control Arms Tie Rods Sway Bar Links Suspension Kit
1.Fit For2004 - 2009 Nissan QUEST
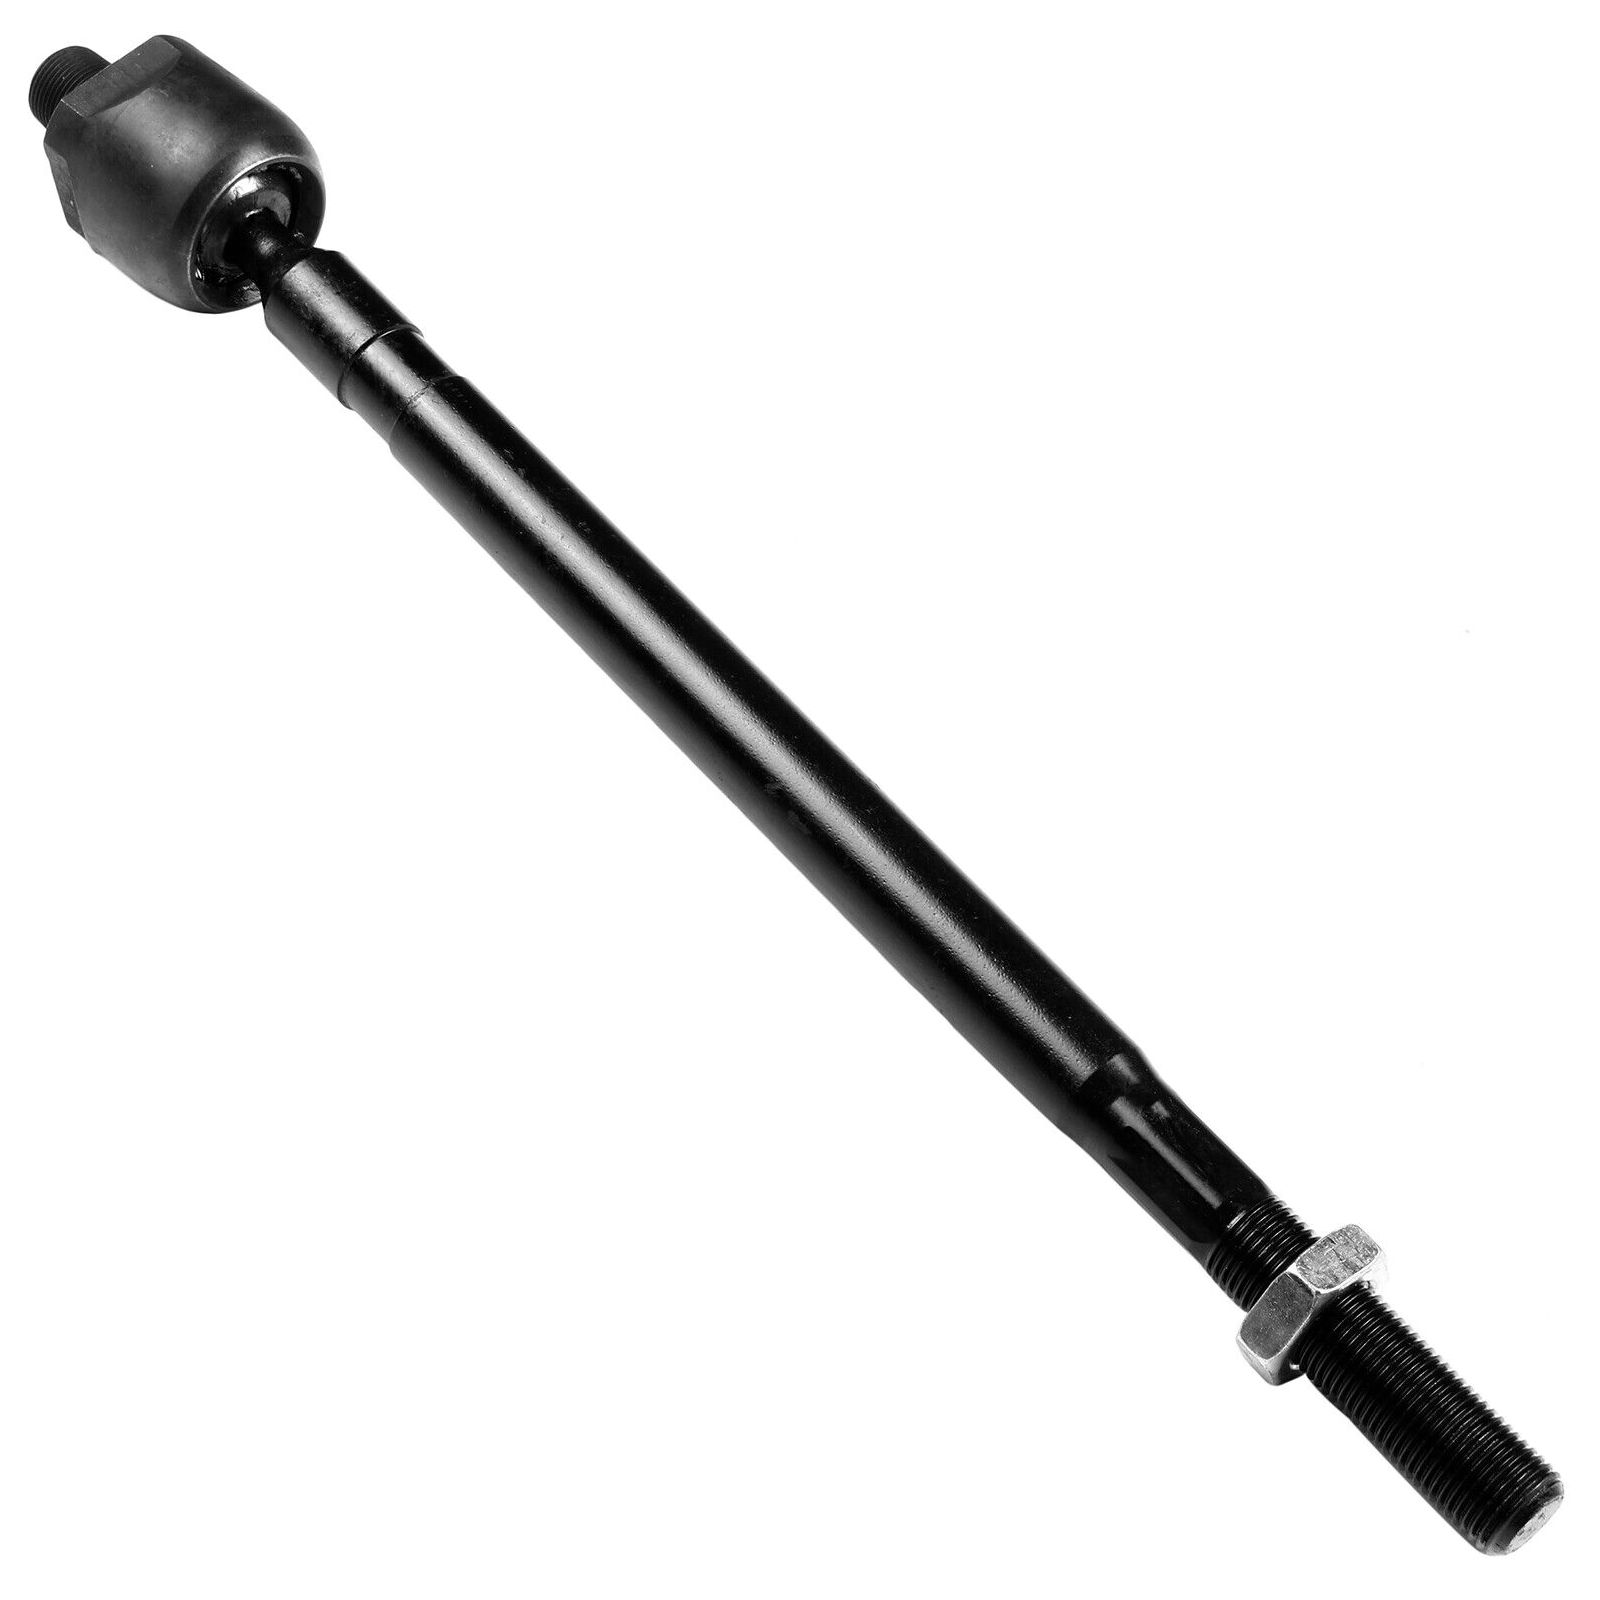
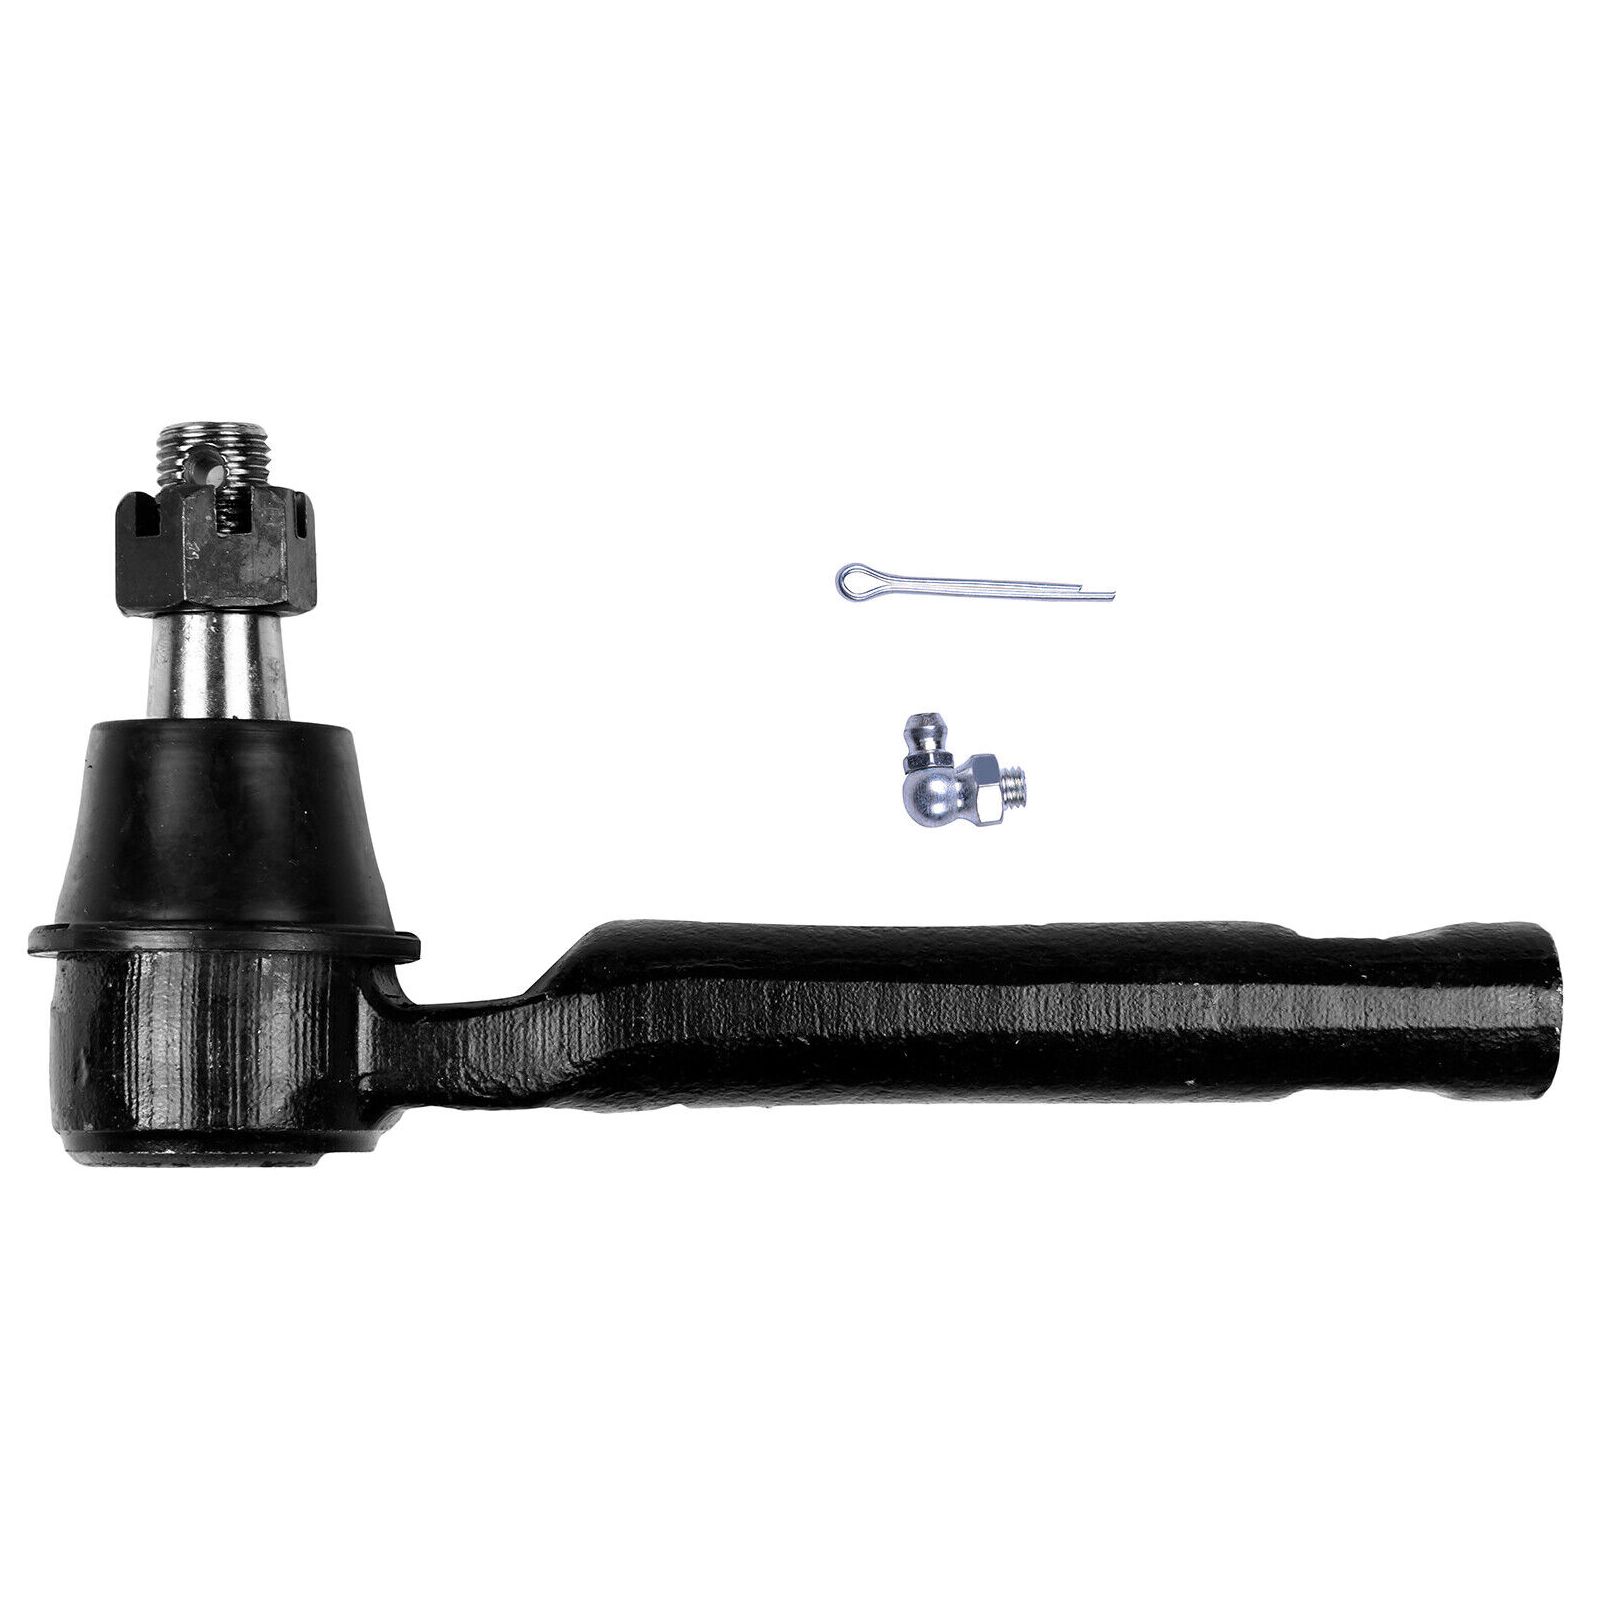
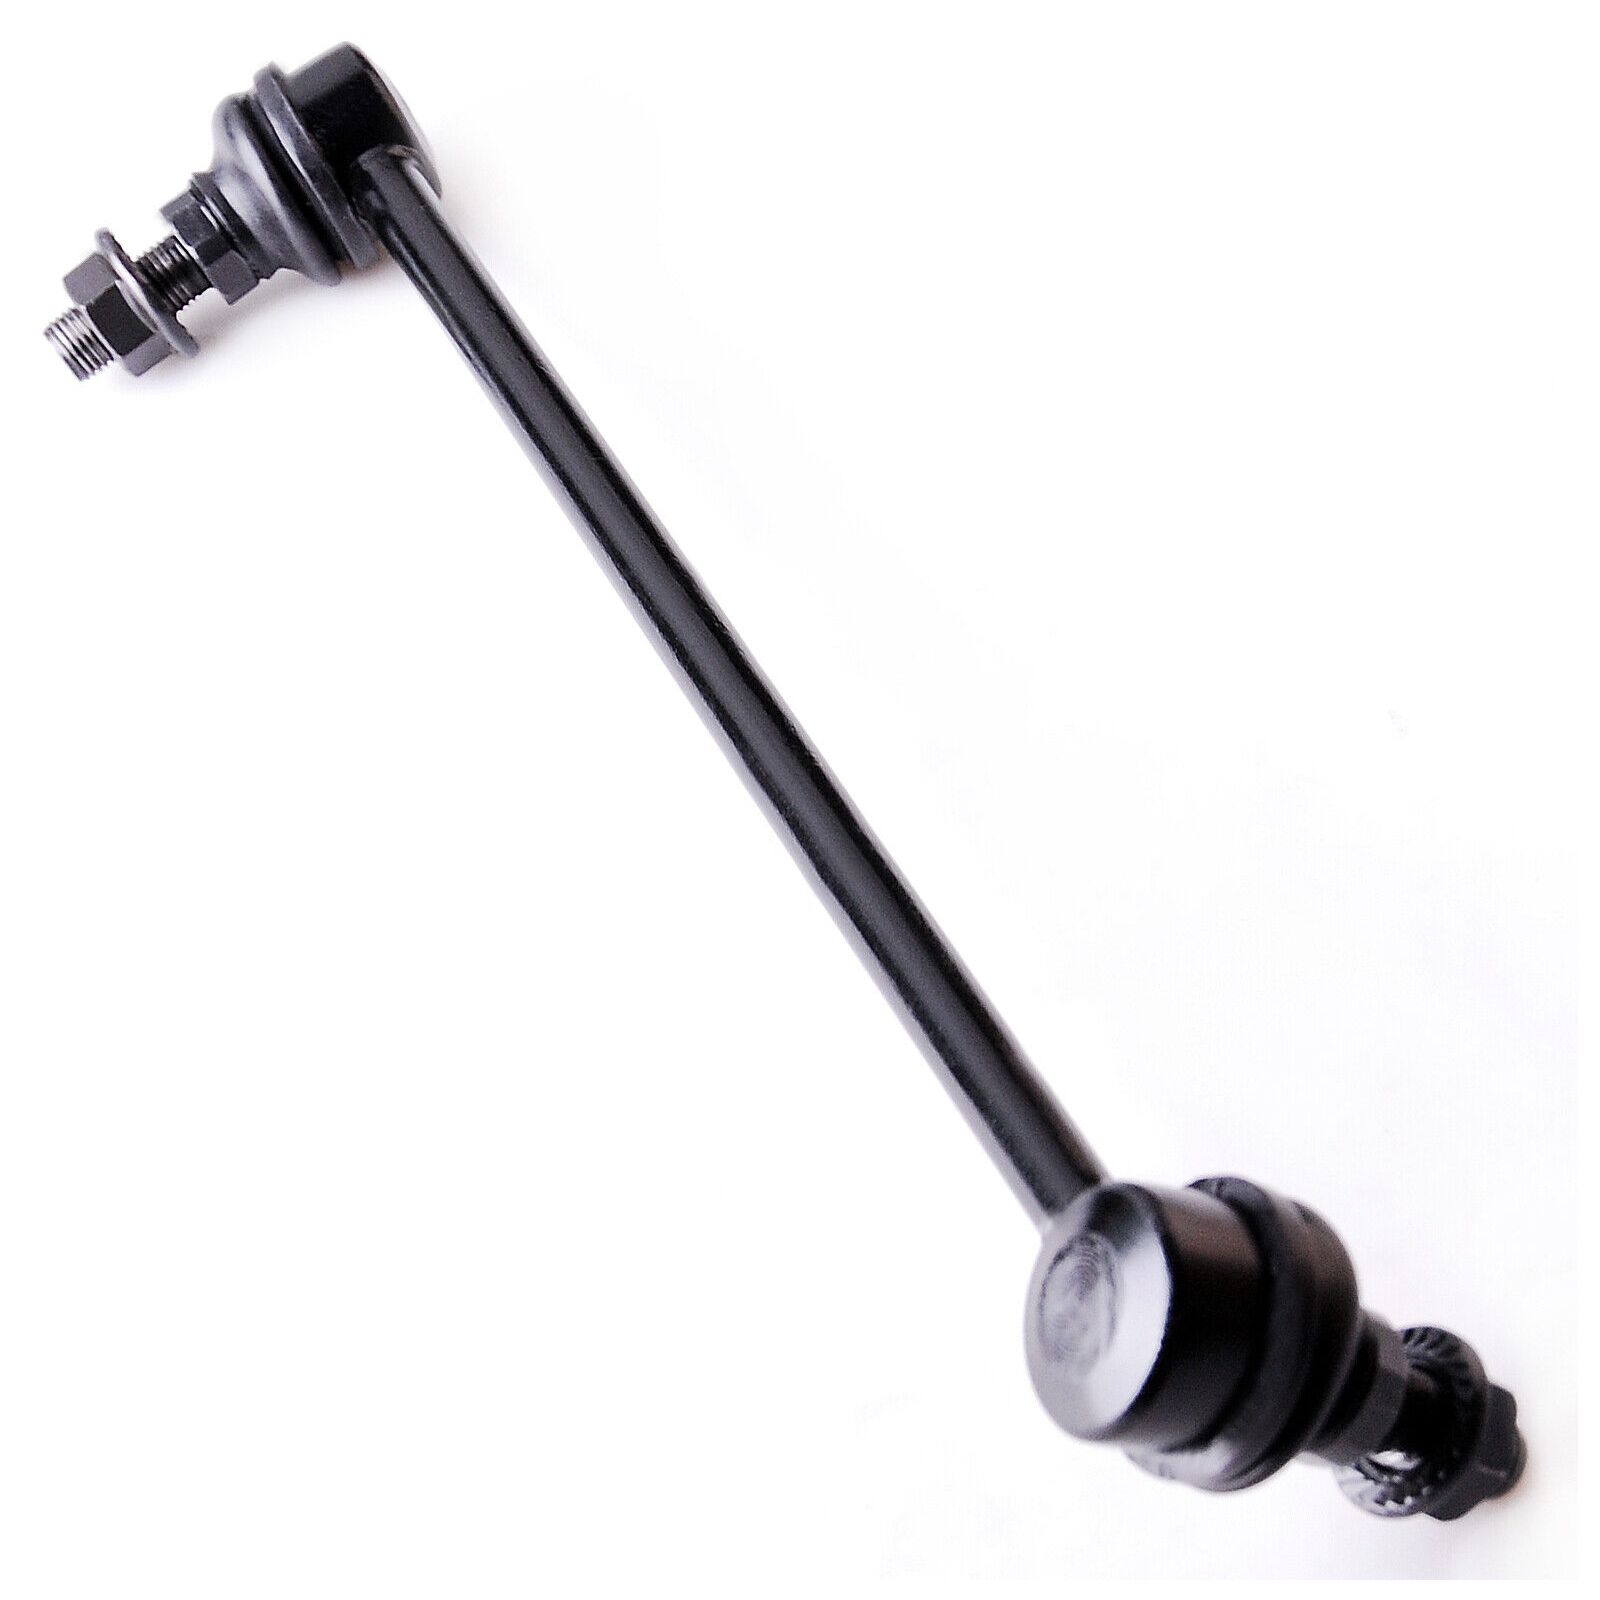
2.Package Includes:1x Part# Front Lower Left Control Arm + Ball Joint - K6205601x Part# Front Lower Right Control Arm + Ball Joint - K6205611x Part# Front Left Sway Bar End Link - K802551x Part# Front Right Sway Bar End Link - K802562x Part# Front Inner Tie Rods Ends - EV8002272x Part# Front Outer Tie Rods Ends - ES800404
Notes(1).Please check the fitment chart above before payment making sure all the suspension parts listed on this page are compatible with your automobile.(2).Please refer to Moog official website before narrowing down your search so as to avoid unnecessary item not as described return requests.(3).Please contact our customer services for targeted discount after all the items are received if you have reached any targeted discount thresholds, the terms of which is at the bottom of this page.
If you are interested with any other suspension parts, please click and save our store .Ball Joint Replacement Guideline:If there is a knocking or clunking noise in the area of the front axle when the car is traveling over road bumps, potholes or curbs, then there is usually a defect in a component of the wheel suspension.Picture(A)The side of the front axle from which the (vibration) noise is emanating can already be determined during a test drive. The type of noise also already provides certain indications for maintenance regarding which components might be faulty.Picture(B)1.Raise the vehicle and remove the front wheels.2.To loosen the fastening screws and fixing nuts of the compression ball joint more easily, spray them with rust remover and allow to act for a few minutes.Picture(C)3.Loosen the fastening screws of the broken ball joint on the control arm and remove the nuts.Picture(D)4.Loosen and remove the fixing nut of the ball joint on the steering knuckle.Tip:If the ball stud rotates, hold the ball stud in place with a hexagon socket.Picture(E)5.Remove the bad or worn ball joint from the control arm.6.Loosen the compression ball joint on the steering knuckle using a suitable special tool.Picture(F)7.Clean the cone connection.Tip:For better sealing and durability of the ball joint sleeve, a little silicone grease can be applied to the contact surface.Picture(G)8.Insert new compression ball joint in the control arm and steering knuckle and tighten with new fixing nuts.9.Reinstall front wheels. Lower the vehicle and tighten the wheel studs to the tightening torque specified by the vehicle manufacturer.10.Measure the chassis and adjust it using the various holes on the compression ball joint if necessary.11.Finally, carry out a test drive.
Sway Bar Stabilizer Link Replacement Guideline:While driving, the following signs may indicate a faulty sway bar stabilizer link:(1).Rattling and thumping noises on rough roads.(2).Imprecise vehicle handling.(3).Stronger inclination of the vehicle during cornering.If the sway bar stabilizer link is found to be defective, it should be replaced as described below.1.Raise vehicle and remove front wheels.Tip:Always check both stabilizer links and replace them in pairs if necessary.2.Spray fastening nuts of the stabilizer link with rust remover and let act for a few minutes.3.Loosen the lower fastening nut of the stabilizer link at the stabilizer and remove.Tip:If the ball stud also starts to turn, hold it with a suitable tool.4.Press stabilizer link out of torsion bar.5.Loosen the upper fastening nut of the stabilizer link at the suspension strut and remove it.6.Press stabilizer link at suspension strut out of bracket.7.Insert new stabilizer link at suspension strut.8.Tighten stabilizer link at suspension strut to the tightening torque specified by the vehicle manufacturer.Tip:Secure the ball stud against twisting with a suitable tool.9.Insert new stabilizer link at stabilizer.10.Tighten stabilizer link at stabilizer to the tightening torque specified by the vehicle manufacturer.Picture(H)11.Remount the front wheels. Lower the vehicle and tighten the wheel studs to the tightening torque specified by the vehicle manufacturer.Tip:Even if replacing the stabilizer link does not directly affect the chassis setting, we recommend checking the axle setting and adjusting if necessary after working on the suspension.12.Conclude with a test drive.
Tie-Rod End Replacement Guideline:If you feel a bump in the steering when driving over road bumps or curbs, this might be due to worn tie rod ends or inner tie rods. Clicking noises during sudden steering movements can also be symptoms of a defective tie rod. In order to determine the exact cause and replace the defective tie rod, the car must be elevated with a vehicle lift in order to be examined more closely.This useful tip applies to the exchange of tie rod ends and inner tie rods, which together form the so-called tie rod.Note: Cleanliness is extremely important when working on the power steering. Incorrect work and contamination can lead to leakage and, in the worst case, to failure of the steering assistance.1.Lift the vehicle and dismount the front axle wheels.2.Spray the fastening nut of the tie rod end with rust remover and leave it on for a few minutes.3.Dismount the front underride guard.4.Loosen the fastening nut from the tie rod and remove it completely.5.Remove the tie rod end from the steering knuckle using an appropriate ball joint separator.6.Remove the clamp of the bellow on the steering gear.7.Push the bellow towards the tie rod end.8.Unscrew the inner tie rod from the rack.9.Clean the sealing face of the bellow at the steering gear.10.Clean the lug of the rubber contact surface of the ball joint in the steering knuckle.Note:Always use new self-locking nuts and bolts for a reliable repair.11.Screw the new inner tie rod into the rack and tighten it with the tightening torque that has been specified by the vehicle manufacturer.12.Mount the bellow and close the clamps with the appropriate special tool.Note:Incorrect mounting of the bellow can lead to corrosion of the rack: the steering gear starts leaking which can lead to a failure in the steering assistance.13.Secure the ball joint in the steering knuckle and mount the nut. Please observe the tightening torque suggested by the vehicle manufacturer.Note:During mounting, the ball stud should not turn within the ball joint. This can cause damage inside the ball joint and can lead to early failure.Picture(I)14.Mount the front underride guard.15.Mount the front wheels and tighten them with the tightening torque recommended by the vehicle manufacturer.16.Align the wheels and adjust them if necessary. Observe the vehicle manufacturer specifications.17.Perform a test drive.Note:When performing the test drive, pay special attention to the handling while cornering and listen for possible noise emission.
Frequently Asked Questions(1).Do I need to replace the control arm if the bushings are worn?Because the weight of the car is transferred through the control arm two rubber bushings are fitted at the pivot point and bolted to the frame. Road conditions and driving habits can contribute to the wear of these bushings which will become worn and fall apart. These bushing can be inspected by raising the car up and looking for an irregular configuration of the rubber center of the bushing. Many control arms have the ball joint manufactured into the arm which will be replaced along with the control arm itself. When one control arm is worn it is highly advised to replace the opposing arm.
(2).What happens if a ball joint breaks?When a ball joint breaks, you will hear a mysterious noise inside your car wheel.Your car tire will wear-out since your alignment will be broken, and you will feel the car getting out of control.If the ball joint breaks completely, it can be separated, and things can turn sour quickly. The wheel will stop being nice and can even steer you off the road. It can be serious.Broken ball joints will seriously affect the steering and suspension. It can even result in your wheel falling off the car.
(3).What happens if I don't replace ball joints?If you don't want to replace your ball joints, then get ready to experience some serious issues. The old ball joints cause mysterious clunking noise or drifting steering. Once they are worn-out, it will seriously affect your steering and suspension. However, you do not need to change the ball joints if it is new.
(4).Do I need to grease new ball joints?I would say it will be a wise decision if you grease your new ball joints. At least I will always grease a new one after the installation. Greasing a new ball joint will make it stronger and extend its lifetime because there is a minimal amount of grease inside. I suggest you do so after the first installation. Follow the instruction card.
(5).Why should I get my tie rods inspected on a regular basis?If you don't get your tie rods inspected on a regular basis, there are some warning signs to watch (and listen) for. If your vehicle pulls to one side while driving, or when braking, it's possible that bad tie rods may be the culprit. Your vehicle's tires will also show uneven wear on the inside and outside edge of the tire when there's a tire rod issue. However, one of the most noticeable signs of tie rods going bad will be a knocking sound coming from the front end of the vehicle when you turn into a parking space, or some other low speed, tight turning situation.
(6).VibrationsOne of the first symptoms that your tie rods are damaged or breaking is that the steering wheel will vibrate slightly. This is especially prevalent when you are speeding up or turning. This happens because the steering wheel is losing its control over the tires, causing the steering wheel to shimmy as you drive.
(7).ShakingAs the tie rods become further damaged, you will start to notice that the car itself will start to shake. This happens because the tires may start to wobble without you having full control over them. Although you should take your car into a mechanic at the first sign of tie rod problems, if you experience your car shaking you could be at risk for serious tie rod damage-which can cause accidents. Take your car into a mechanic if you experience this tie rod symptom.
(8).WanderingIf your tie rods continue to go unchecked or unfixed, the rods can completely break. This can cause you to lose all control of your car, possibly resulting in an accident. When this occurs, the car will may "wander" as you drive. At this point, the steering wheel will have no control over the tires and the tires will start moving independently, causing the car to drift while you are driving. If this happens while you are on a freeway or busy road, you and others could be at serious risk of an accident. If you experience wandering, stop your car, call a tow truck and take your car to the nearest mechanic.
(9).What are the symptoms of a bad sway bar?Some of the common symptoms of a bad sway bar bushing or sway bar links going bad are: clunking noise, rattling noise, knocking uneven noise road, lack of stability when driving and noise going over speed bumps. poor handling during turns.
(10).What happens when a sway bar breaks?Because a sway bar helps the car's suspension to put more pressure on loaded springs, a broken sway bar means that the car's suspension will not be able to handle corners as well or as quickly. While it is possible to drive with a broken sway bar, as a precaution do not take corners with excessive speeds.Item SpecificsPlacement on Vehicle: FrontType: Control Arm & Ball Joint AssemblyUniversal Fitment: NoControl Arm Construction: ForgedItems Included: Mounting HardwareCustom Bundle: YesInterchange Part Number: K80255 K80256 ES800404 EV800227 K620560 K620561OE/OEM Part Number: Suspension Control Arms and Ball Joints AssemblySuperseded Part Number: Front Driver and Passenger Side ReplacementManufacturer Warranty: 10 YearBrand: Auto-brakemotiveManufacturer Part Number: AUTO81093101TVAdjustable: YesModified Item: YesKit Parts Included: Control Arm,Ball JointKit or Single Part: KitGreasable or Sealed: GreasableOE Spec or Performance/Custom: OE SpecSurface Finish: Polished, Rust ProtectedQuantity: 8 PcsKit Parts Included: Control Arm, Outer Tie Rod, Inner Tie Rod, Sway BarCross Reference Part Number: 54501CK000, 54500CK000, 54668CA000, 54668CK000Cross Reference Part Number: For Nissan QuestCross Reference Part Number: 54618CA000, 54618CK000, 48521CK000, 48520CK025Features: GreasableFinish: CoatedCotter Pin Hole: YesMaterial: Alloy SteelMounting Style: Bolt-On
Product Details & FAQ
Q: Brand
A: Auto-brakemotive
Q: Manufacturer Part Number
A: AUTO81093101TV
Q: Interchange Part Number
A: K80255 K80256 ES800404 EV800227 K620560 K620561
Q: Placement on Vehicle
A: Front, Left, Right, Lower
Q: Surface Finish
A: Polished, Rust Protected
Q: Kit Parts Included
A: Control Arm, Outer Tie Rod, Inner Tie Rod, Sway Bar
Q: Greasable or Sealed
A: Greasable
Q: Superseded Part Number
A: Front Driver and Passenger Side Replacement
Q: Type
A: Control Arm & Ball Joint Assembly
Q: Items Included
A: Mounting Hardware
Q: OE/OEM Part Number
A: Suspension Control Arms and Ball Joints Assembly
Q: Material
A: Alloy Steel
Q: Manufacturer Warranty
A: 10 Year
Q: Mounting Style
A: Bolt-On
Q: Universal Fitment
A: No
Q: Control Arm Construction
A: Forged
Q: Kit or Single Part
A: Kit
Q: OE Spec or Performance/Custom
A: OE Spec
Q: Cross Reference Part Number
A: 54618CA000, 54618CK000, 48521CK000, 48520CK025
Q: Vehicle Fitment
A:
| Note | Make | Model | Year | Trim | Engine | Submodel |
|---|
| Nissan | Quest | 2009 | Base Mini Passenger Van 4-Door | 3.5L 3498CC V6 GAS DOHC Naturally Aspirated | |
| Nissan | Quest | 2009 | SE Mini Passenger Van 4-Door | 3.5L 3498CC V6 GAS DOHC Naturally Aspirated | |
| Nissan | Quest | 2009 | SL Mini Passenger Van 4-Door | 3.5L 3498CC V6 GAS DOHC Naturally Aspirated | |
| Nissan | Quest | 2009 | S Mini Passenger Van 4-Door | 3.5L 3498CC V6 GAS DOHC Naturally Aspirated | |
| Nissan | Quest | 2008 | Base Mini Passenger Van 4-Door | 3.5L 3498CC V6 GAS DOHC Naturally Aspirated | |
| Nissan | Quest | 2008 | SE Mini Passenger Van 4-Door | 3.5L 3498CC V6 GAS DOHC Naturally Aspirated | |
| Nissan | Quest | 2008 | SL Mini Passenger Van 4-Door | 3.5L 3498CC V6 GAS DOHC Naturally Aspirated | |
| Nissan | Quest | 2008 | S Mini Passenger Van 4-Door | 3.5L 3498CC V6 GAS DOHC Naturally Aspirated | |
| Nissan | Quest | 2007 | Base Mini Passenger Van 4-Door | 3.5L 3498CC V6 GAS DOHC Naturally Aspirated | |
| Nissan | Quest | 2007 | SE Mini Passenger Van 4-Door | 3.5L 3498CC V6 GAS DOHC Naturally Aspirated | |
| Nissan | Quest | 2007 | SL Mini Passenger Van 4-Door | 3.5L 3498CC V6 GAS DOHC Naturally Aspirated | |
| Nissan | Quest | 2007 | S Mini Passenger Van 4-Door | 3.5L 3498CC V6 GAS DOHC Naturally Aspirated | |
| Nissan | Quest | 2006 | Base Mini Passenger Van 4-Door | 3.5L 3498CC V6 GAS DOHC Naturally Aspirated | |
| Nissan | Quest | 2006 | SE Mini Passenger Van 4-Door | 3.5L 3498CC V6 GAS DOHC Naturally Aspirated | |
| Nissan | Quest | 2006 | SL Mini Passenger Van 4-Door | 3.5L 3498CC V6 GAS DOHC Naturally Aspirated | |
| Nissan | Quest | 2006 | S Mini Passenger Van 4-Door | 3.5L 3498CC V6 GAS DOHC Naturally Aspirated | |
| Nissan | Quest | 2005 | Base Mini Passenger Van 4-Door | 3.5L 3498CC V6 GAS DOHC Naturally Aspirated | |
| Nissan | Quest | 2005 | SE Mini Passenger Van 4-Door | 3.5L 3498CC V6 GAS DOHC Naturally Aspirated | |
| Nissan | Quest | 2005 | SL Mini Passenger Van 4-Door | 3.5L 3498CC V6 GAS DOHC Naturally Aspirated | |
| Nissan | Quest | 2005 | S Mini Passenger Van 4-Door | 3.5L 3498CC V6 GAS DOHC Naturally Aspirated | |
| Nissan | Quest | 2004 | SE Mini Passenger Van 4-Door | 3.5L 3498CC V6 GAS DOHC Naturally Aspirated | |
| Nissan | Quest | 2004 | SL Mini Passenger Van 4-Door | 3.5L 3498CC V6 GAS DOHC Naturally Aspirated | |
| Nissan | Quest | 2004 | S Mini Passenger Van 4-Door | 3.5L 3498CC V6 GAS DOHC Naturally Aspirated | |